Wednesday, October 27, 2010

Lessons on Lashes

I have worn eyelashes almost every day for the past 2 years. Every night, in my dressing room, I'd whip out the lash glue, and apply a full strip (usually my trusty ol' Mac 5's).


When I needed a smaller lash, or just a pop, I'd apply Ardells or other drug store brands. Lashes are awesome and they do wonders for your face.


So as I sit back and look at pictures from our wedding, I can't help but think to myself, "Why aren't you wearing lashes?"

It never occurred to me so plainly that I just didn't think they were up for it. Have you ever gotten sweat in your eye when you had eye makeup on? Know what happens when you wipe your eye? Mascara and liner  failure. I think I must have subconsciously remembered previous experiences. When the glue from your falsies gets wet, the eyelash comes off. Sometimes just a corner pops up. You have to take 5 minutes to either jimmy it back into place, or do the darn thing all over again.

"Use more glue", you say. Use too much glue to apply and you have a sloppy mess.

Lash glueing is an art. Either you got it, or you don't. I usually got it, but on my wedding day I didn't feel like testing the system.

Can you imagine my emotional craziness and propensity to tears-- mixed with false eyelashes? Sounds like a recipe for a small bridal meltdown.  I remember talking with John about perhaps applying singlets on the outer corners, but then dismissing the idea for fear of teary eye. Imagine how pretty those photos would have turned out with our happy faces and me with a melting lash. Que horror!

So when I go to scold myself in the future over not wearing lashes on our wedding day, I'll try to remember that I was averting a small makeup predicament. Cover Girl Lash Blast Volume, in waterproof, did the trick.

But for you controlled criers out there, a few tips:

1. Practice, practice, practice. Don't use your wedding day as the first day you try lashes. If you do decide to do this, be warned.

2. Don't use as much glue as you would think. A thin coat does the job. If you need more hold let that thin coat dry a little and apply a 2nd coat on top of it.

3. Let the glue dry on the lash a little before you apply. I blow on mine. You want the glue tacky, not wet. Also, I've found the black glue to work better than the white stuff.

4. Don't be afraid to cut the ends of the lash. If you have smaller eyes, cut the lash to your lash line. Nothing looks faker than lashes that don't fit your eyeline.

5. Apply your lashes after your shadow and liner. The lash should be the finishing touch. Don't apply eyeshadow after, or the shadow will fall in the curve of the lash.
(Here is a shot of the same makeup, with and without lashes. Makes a difference!)

Good luck with your lashes! And someone please tell me that it's okay that I didn't do more of a show makeup look for my wedding. I'm having a hard time wrestling with the fact that I went "less is more"!

Tuesday, October 26, 2010

D.I.Y. Photobooth Board

I promised I'd show you our photobooth which Mr. B and I produced with 3 days until our wedding. I thought it had fallen off our to-do list, but after a trip to Home Depot and a suggestion from his stepfather, it was brought to life.

Like many before me, the inspiration started with this Sasha Souza creation:


After brainstorming a way to make ours light and without stands, we bought large sheet of this styrafoam. I'm not sure what it's really used for but it worked for us.
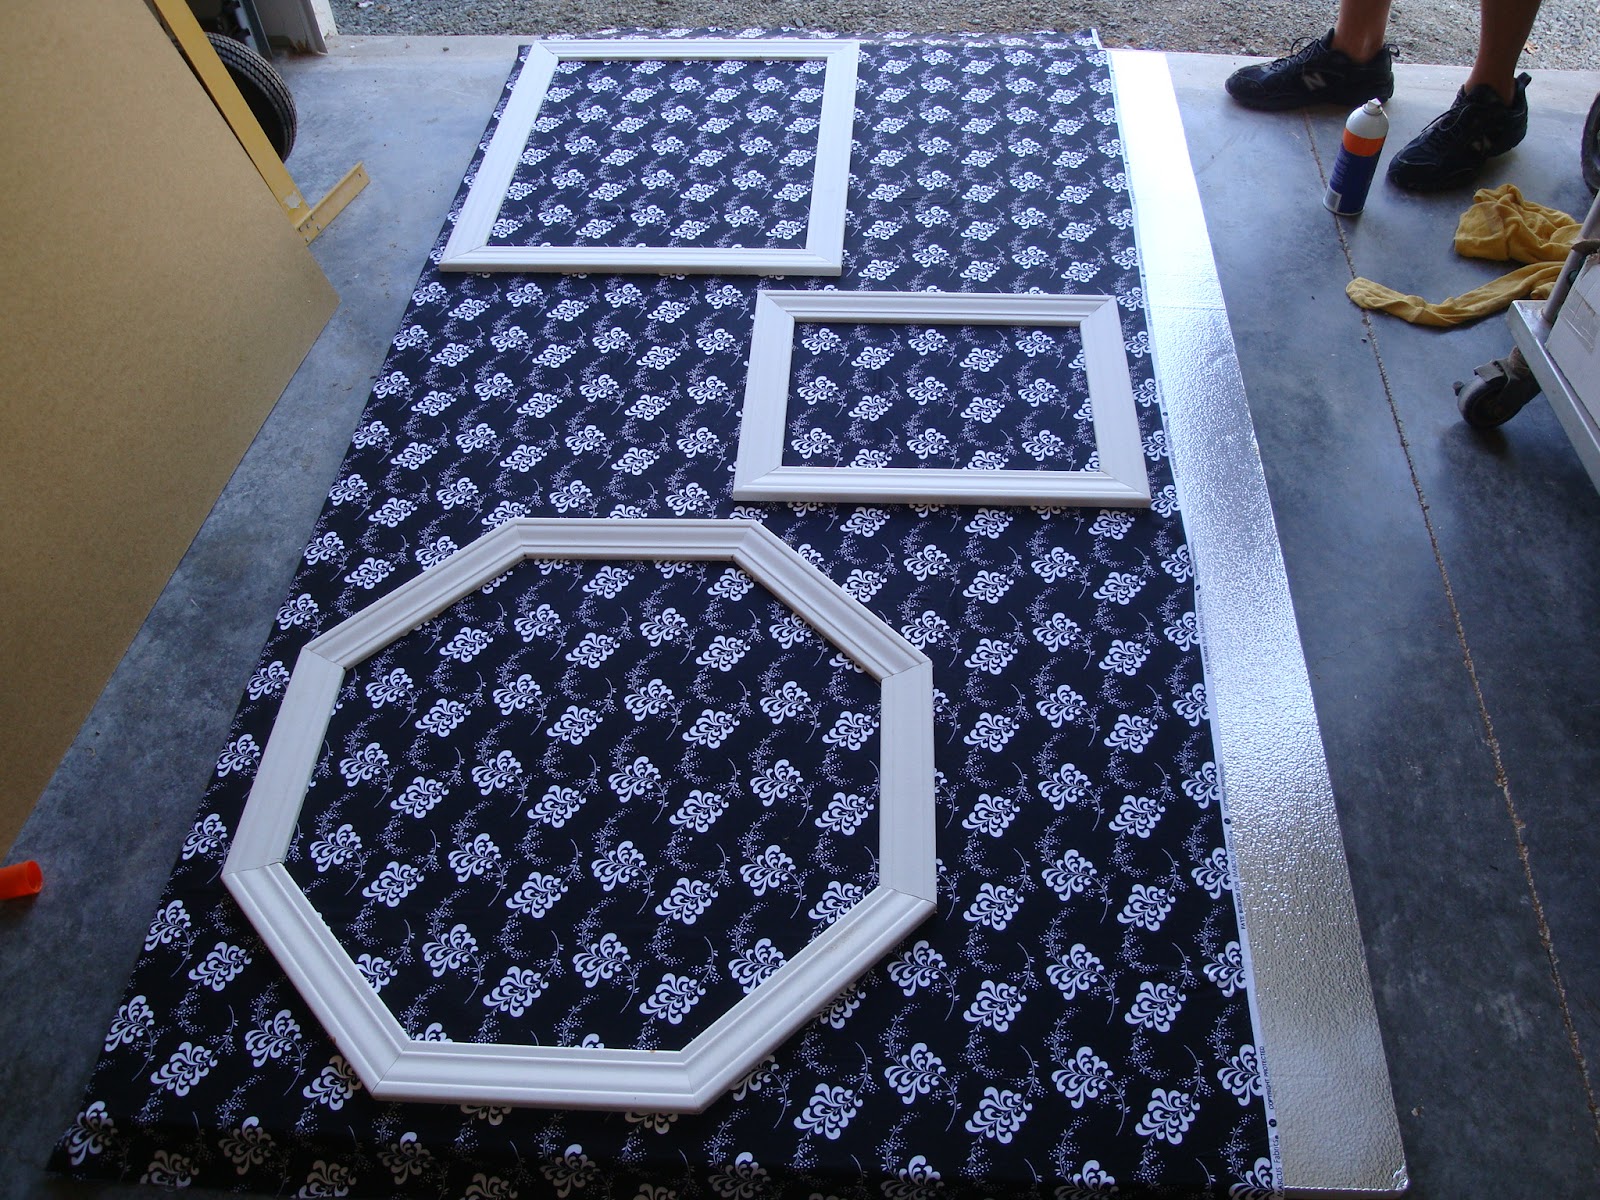
I found some fabric I liked and spray glued it to the foam board.

We used Elmers spray glue and let it sit for 10 mins.

Mr. B and stepfather, Gary, made these frames the previous day from scrap moulding. We played with the placement until we were happy.

He used a box cutter to cut the fabric along the outside of the frame. This way, the frame could be glued to the board and not the fabric.

He peeled the cut fabric off the board and put it aside.

The frame was glued to the board.

He repeated the process for the remaining frames and used the discarded material to cover the bottom of the board.

Next, it was my turn. I printed out the following photos on our computer and framed them in silver.
All are wedding photos from family members, except Mr. B's USMC photo that I just thought was so handsome I had to add.

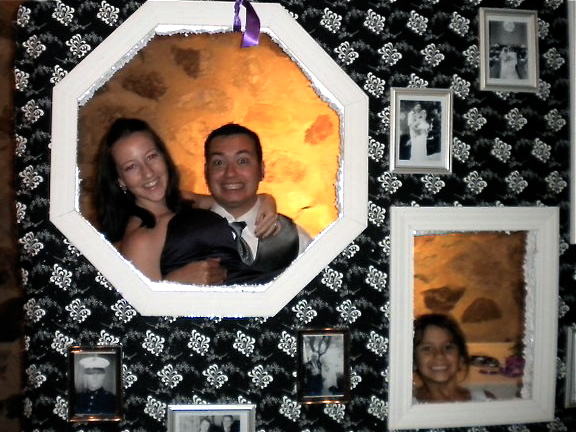
Mr. B waited until the day of the wedding to cut out the foam in the frames and glue the photos to the board. I didn't see the finished product until it was hanging in the courtyard during our reception.


Ok, so a few notes:

 1.You may notice that the horizontal square is broken. "Someone" thought the board was more sturdy and tried to put weight on it, ending with that person lying flat on their back on the ground below and the photobooth slightly broken.

2. If you are going to hang your booth, hang it lower than you think. The space in the frames is largely unused because it was hanging too high for most guests. Also have a set plan for hanging. Without a plan, we ended up looping ribbon from the frames.

3. Don't hang the booth in front of strong light. I haven't seen the pro shots of this yet, but I imagine ours would have looked better if it was hanging in front of an un-lit wall.

4. Don't wait until the day-of to cut out the holes. White foam was everywhere, but because it was done last minute, we hadn't prepared for that. If you are the type of person who likes things perfect, don't let anyone touch, hang, or cut your board without your supervision.

In the end, I was super happy we had the photobooth and it added another fun element to the reception. While crafting it at the last minute did present its own set of problems, I'm sure if you take the time to plan it out, you can really nail this super easy project!

Saturday, October 23, 2010

The Morning After

The morning after the wedding, we both we're feeling awesome besides the slight hangovers, the adrenaline rush of the wedding still pumping through our veins. We met family at a local breakfast spot, stopped by John's hotel to trade stories, and checked-out of our hotel, and into a time-share resort.

Our vehicle was packed with suitcases, boxes, presents, clothes, wedding crafts, cases of wine, our top layer of wedding cake, and various other goodies that needed to be sorted. I had anxiety about tackling all of it, but tried to push it to the back of my memory and just soak in every little new-married-moment. It does feel different after you are married. Maybe it's just me, but Mr. B just looked all sparkly and new. Maybe I was all sparkly and new. There was definitely something.

When we couldn't check-in at the resort right away, we swung by In-N-Out burger. I'm an East Coast girl and had never had the pleasure before. I was told it was a must. So with our burgers in tow, we looked for a grassy spot to sit down around the area.

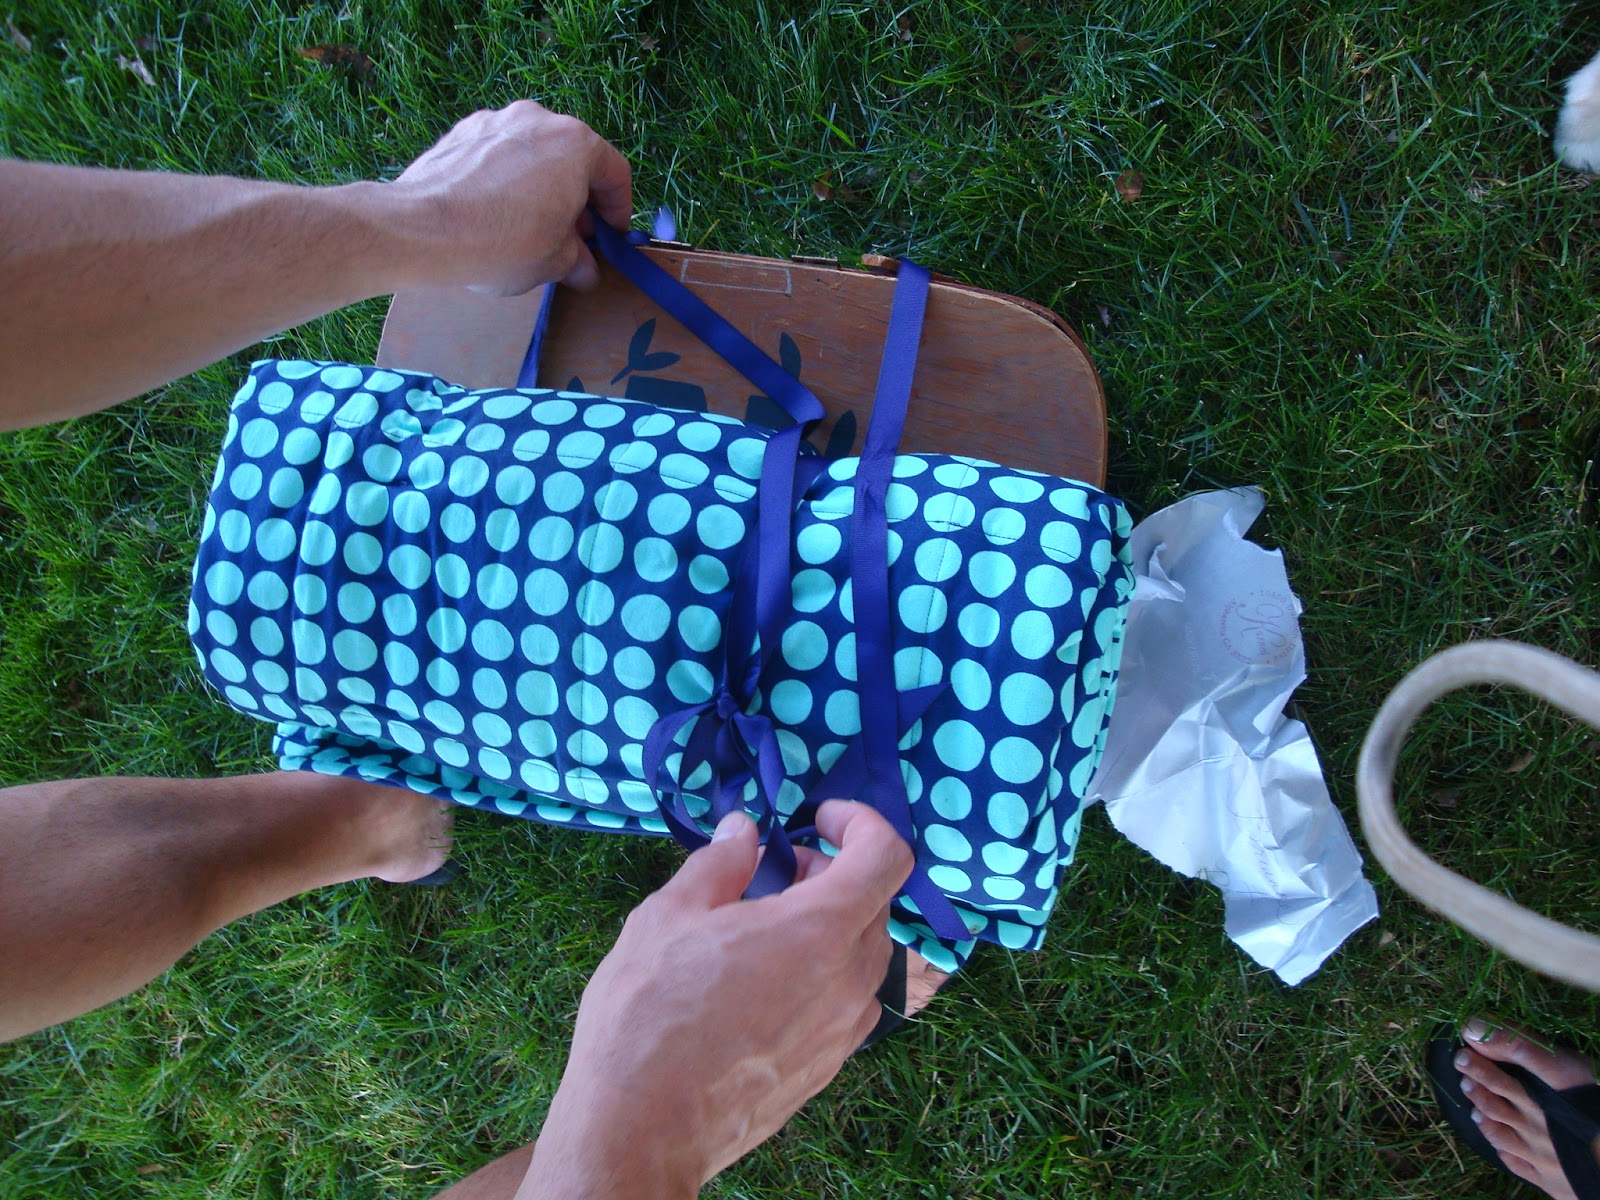
When we got out of the car, Mr. B rifled through the back and came out with this:


An awesome picnic basket set with our new initial hand-painted on it!

Fun treats!

My *husband* set it all up...

...but we still ate the In-N-Out...

...and of course drank the wine. =)

We still didn't know who it was from until we opened the card. I was so happy to see Bridesmaid Lisa's handwriting! That clever woman!

Mr. B fielded "day after" phone calls...

...while I attended to Baby Barrettes. Seriously, how cute is he?

It was so peaceful to lay there and just look up at the leaves and enjoy a moment after the insanity of the weekend.

I was happy, tired, thankful, and married.

Laying down felt so good =)

With our batteries refreshed, we headed back to The Meritage and indulged in opening our gifts, sleeping without alarm clocks, spa treatments, and a romantic dinner for 2. It was the perfect Day After.

How did you and your spouse unwind the Day After?